I searched for the best in autumn decor to share with my friends and compiled this project...just in time for the leaves to fall....

Please note: I am a very visual person so am putting in quite a lot of photos! Hopefully this is a good thing!

- paper cutter
- hole punch
- glue
- scissors
- paper, in solid and patterns
- large brads
- cup of tea (you'll see this is not on the optional list!)
 Optional:
- ink
- tool for punching small holes
- small brads
To Make the Large Pumpkin:
Cut the patterned paper into 16-18 strips, each 8 inches long and of varying widths (1/2-2 inches)
Cut solid paper into 16 strips, each 7 inches and 1/2 inch wide.
To Make the Small Pumpkin:
Cut the patterned paper into 16 strips, each 6 inches long and 1/2 inch wide.
Cut the solid paper into 14 strips, each 5 1/4 inches long and 1/2 inch wide.


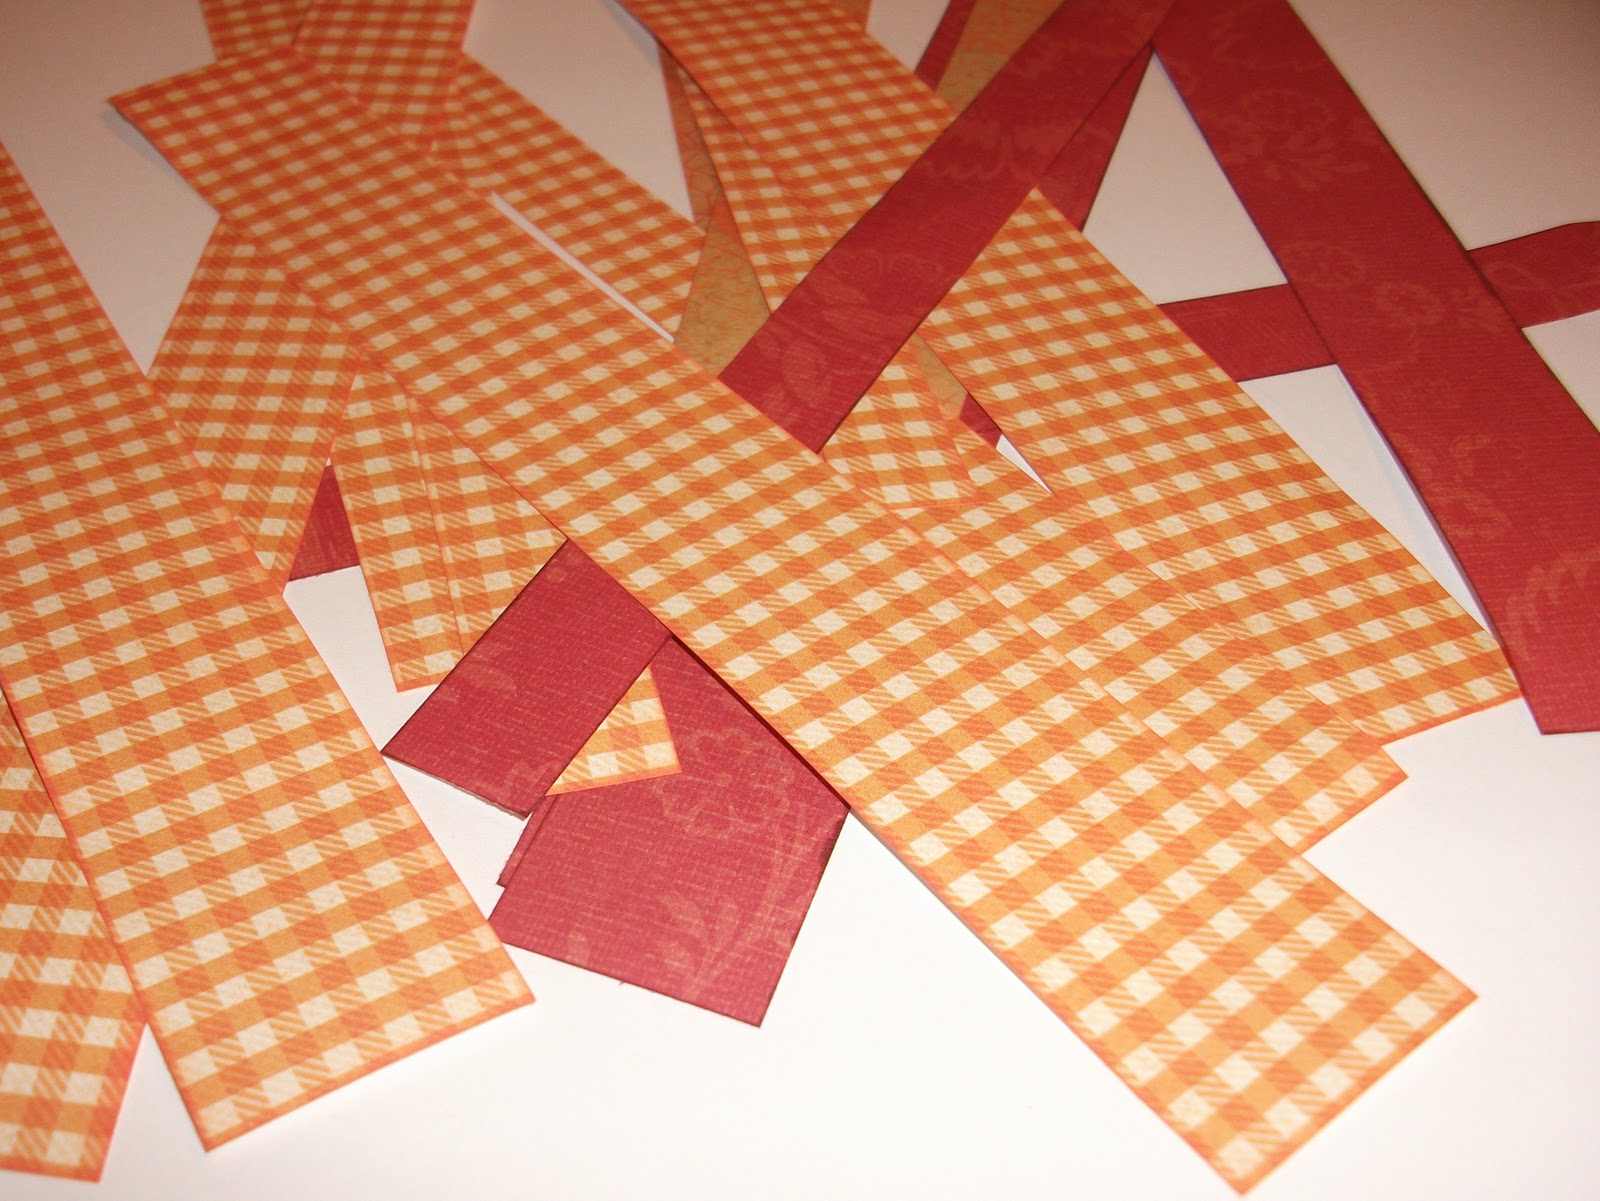
Punch a hole in each end of the strips.


 *Tip: if you use a hard tool and press down the flanges of the brad, the pumpkin will maintain it's shape easier!
Create the shape by starting with the solid pumpkin. Divide the strips roughly in half, creating a circle. Then fan out the strips to make a ball.


Now do the same thing with the patterned strips, creating an outer layer of pumpkinness!


After you get the second layer fanned out, you'll probably have to reach through and re-align some of the inner pumpkin.


 *Tip: Press down on the middle of the pumpkin as this will give it a better "squashy" shape. DON'T crease any of the paper as this will give it a terrible folded shape!
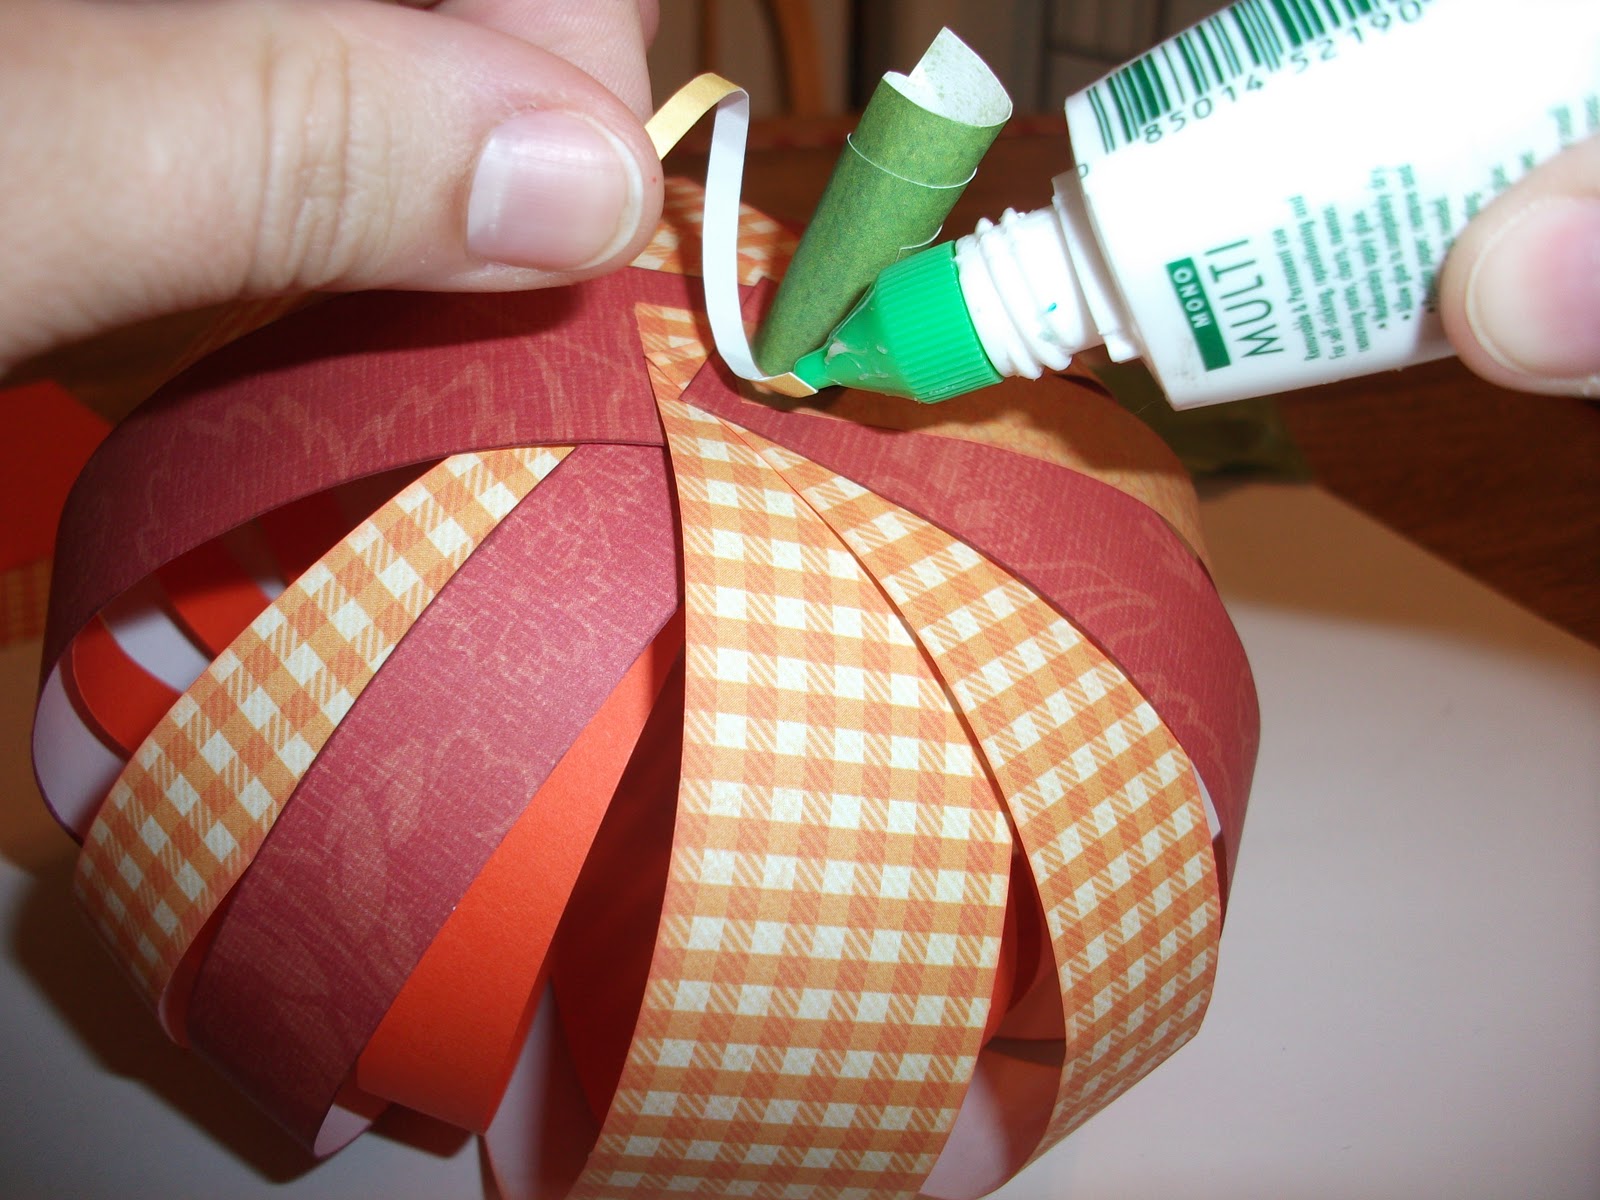
For the stem, use a small piece of paper about 3 inches long. This is a great time to use scraps!
Roll it up and use a dab of glue to secure it in a nice little roll!
Use the scissors and trim the point off the bottom so it has a flat, glueable surface!


VOILA! What an amazing looking Pumpkin you are creating!


Glue to the pumpkin or stem. Whatever looks good to you!

This is what looked good to me!

 If you only have small brads (or you just want to use small brads!) a hole punch may make too large a hole so you can use a sharp tool to poke a smaller hole. A small brad may not be long enough to go through thick paper so you may have to use thin paper or less strips.
Now, go and DECORATE! Oh, and while you're at it, dig out the scarves and sweaters, too!

As a small, possibly unnecessary, footnote, I ran out of orange brads....so I created my own. I started with some brads that were a really awful blue color. Then there was the very bright orange nail color--the reason for which it was purchased eludes me. Anyway, the a few swipes with the nail color and Bingo! I have orange brads!

How boring....
First the list of supplies:
- paper cutter
- hole punch
- glue
- scissors
- paper, in solid and patterns
- large brads
- cup of tea (you'll see this is not on the optional list!)
Optional:
- ink
- tool for punching small holes
- small brads
To Make Large Pumpkin:
Cut the patterned paper into 16-18 strips, each 8 inches long and of varying widths (.5-2 inches)
Cut solid paper into16 strips, each 7 inches long and 1/2 inch wide.
To Make Small Pumpkin:
Cut the patterned paper into 16 strips, each 6 inches long and 1/2 inch wide.
Cut the solid paper into 14 strips, each 5 1/4 inches long and 1/2 inch wide.
Punch a hole in each end of the strips.
*Tip: if you use a hard tool and press down the flanges of the brad, the pumpkin will maintain it's shape easier!
Now do the same thing with the patterned strips, creating an outer layer of pumpkinness!
After you get the second layer fanned out, you'll probably have to reach through and re-align some of the inner pumpkin.
*Tip: Press down on the middle of the pumpkin as this will give it a better "squashy" shape. DON'T crease any of the paper as this will give it a terrible folded shape!
For the stem, use a small piece of paper about 3 inches long. This is a great time to use scraps!
Roll it up and use a dab of glue to secure it in a nice little roll!
Use the scissors and trim the point off the bottom so it has a flat, glueable surface!
VOILA! What an amazing looking Pumpkin you are creating!
Glue to the pumpkin or stem. Whatever looks good to you!


1 comment:
Those are really cute! Great directions! Love all the pictures.
Post a Comment